A fire alarm is one of the most important safety devices every home should have. It provides an early warning when smoke or fire is detected, giving you and your family valuable time to respond and escape. Despite its critical role, many people are unsure how to properly install and maintain a fire alarm, which can reduce its effectiveness in an emergency.
The good news is that installing a fire alarm is a straightforward task when you know the right steps. This guide will walk you through everything you need to know—from choosing the best location and preparing the necessary tools to completing the installation and ensuring proper maintenance. Whether you’re installing a fire alarm for the first time or upgrading your current setup, this article will help you create a safer home with confidence.
Why Installing a Fire Alarm Is Essential for Your Home Safety
A fire alarm is one of the most vital safety devices you can have in your home. It can alert you to the first signs of smoke or fire, giving you time to escape and call for help. Without a fire alarm, the risk of not noticing a fire early can be life-threatening. Homes with smoke detectors are far less likely to experience fatal fires.
Fire alarms are essential for family safety, particularly for children, elderly members, and anyone with limited mobility. They provide a loud, clear warning, even during the night, which is when fires are especially dangerous. By installing and maintaining alarms, you're ensuring that everyone in your household is protected 24/7.
How to Install a Fire Alarm in Your Home: Detailed Steps
Installing a fire alarm might sound intimidating, but it’s easier than you think. Here's a simple guide to help you through the entire process.
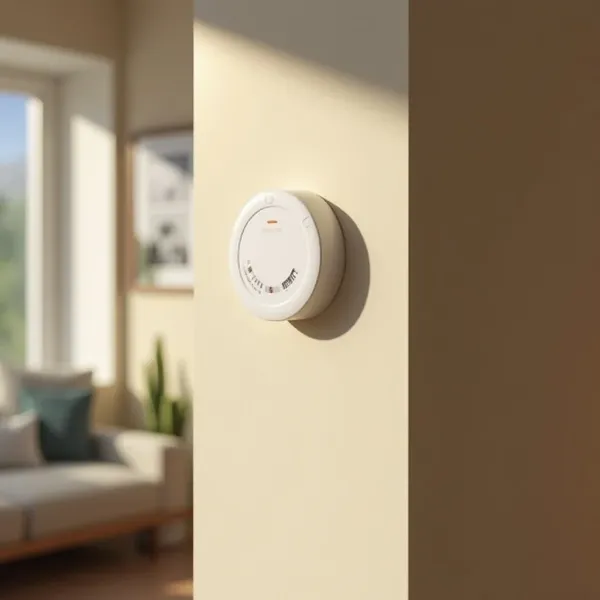
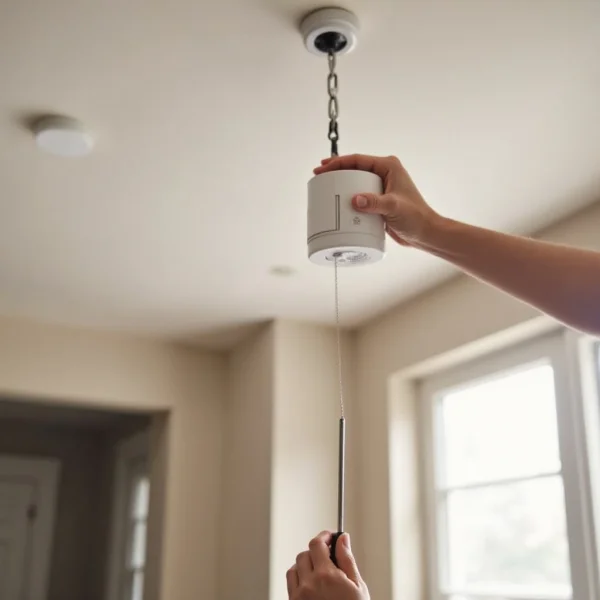
Select the Right Location for Your Smoke Alarm
Choosing the best spot for your smoke alarm is crucial. You want it to be in a place where it will detect smoke quickly, but also avoid areas where drafts could cause false alarms.
- Ceiling placement is ideal: Mount the alarm on the ceiling, about 10-12 inches away from the walls.
- Avoid cooking areas: Keep the alarm away from the kitchen to prevent false triggers from steam or smoke.
- Multiple alarms for more coverage: Install alarms in every bedroom and on each level of your home. This gives you maximum coverage and ensures everyone can hear it.
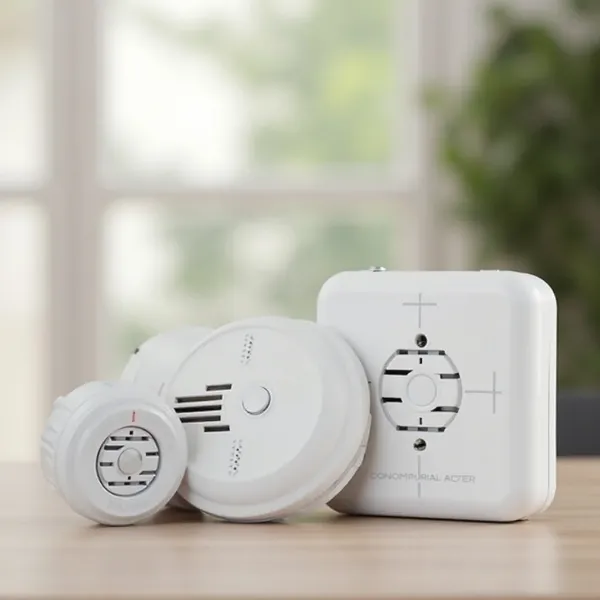
Prepare for Installation: Tools and Materials You’ll Need
Before starting, gather everything you need for a smooth installation:
- Smoke alarm unit (either battery-powered or hardwired)
- Drill and bits
- Screws and mounting brackets
- Screwdriver
- Measuring tape
- Level
- Pencil for marking spots
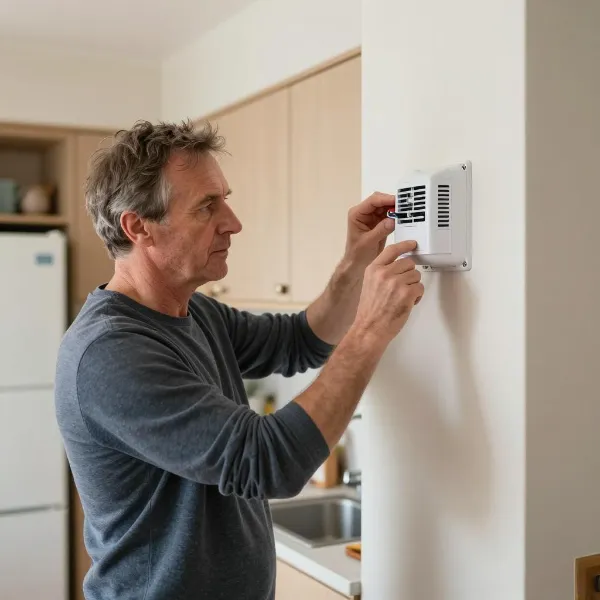
If you're installing a hardwired smoke alarm, be sure to turn off the power at the circuit breaker to avoid any electrical issues.
Step-by-Step Guide to Installing a Smoke Alarm
Mark the Mounting Base
Begin by measuring and marking where you want to install the smoke alarm. Use a pencil to mark the spots for the holes where the mounting bracket will go. Make sure it's centered on the ceiling and at least 10 feet from any cooking appliances.
Drill and Secure the Mounting Bracket
Using the drill, make holes at the marked spots and secure the mounting bracket with the provided screws. Ensure the bracket is level to guarantee that the smoke alarm sits properly when installed.
Install the Batteries or Hardwire the Alarm
If you're installing a battery-powered unit, insert the correct batteries according to the manufacturer’s instructions. For hardwired alarms, carefully connect the wires to the alarm’s terminals. Always make sure the power is turned off before wiring anything.
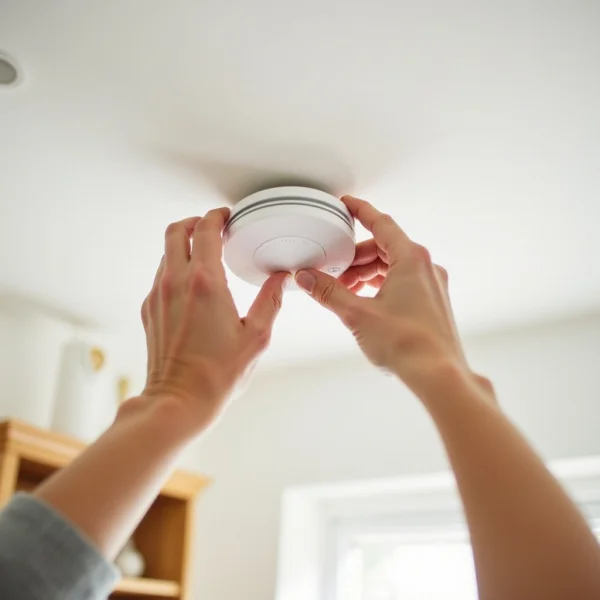
Attach the Smoke Alarm
Once the bracket is secured, and the batteries are in place or the alarm is wired correctly, attach the smoke alarm to the bracket. It should click into place firmly. Make sure it’s securely attached before moving on.
Final Test the Alarm
Now that everything is installed, it’s time to test the alarm. Press the test button to make sure it emits a loud sound. If it doesn't, check the connections or batteries and try again. It’s essential that the alarm is functional.

Important Tips for Installing a Home Fire Alarm Properly
To get the most out of your fire alarm, here are some important tips:
- Place alarms on every floor: Don’t just put a smoke alarm in the hallway. Ensure there's one on each level of your home, including the basement and attic.
- Test the alarms monthly: Press the test button once a month to ensure they’re working properly. If the alarm doesn't sound, replace the batteries or unit.
- Change batteries annually: Even if the alarm is still working, replace the batteries once a year, or when you hear the low-battery warning.
- Keep alarms clean: Dust and debris can interfere with the sensors. Clean the alarm twice a year by using a vacuum or a soft brush to remove dust.
- Install alarms in every bedroom: If you have children or elderly family members, install alarms in their rooms to ensure they’re alerted in case of a fire.
- Avoid placing alarms near vents: Don’t install the alarm near air conditioning or heating vents. Airflow can delay the detection of smoke.
Conclusion
Installing a fire alarm is a simple yet critical task that can protect your family and property. By following this guide, you’ll have peace of mind knowing that your home is equipped to detect fires early. Regular maintenance, such as testing and replacing the batteries, will ensure that the alarm works when needed most. Don’t delay—install your smoke alarms today for a safer tomorrow.
For more information on fire alarm safety, check out how to turn off a fire alarm and why steam set off a fire alarm.