If you came here looking for how to wire a doorbell, you’re probably aiming for one thing: a chime that rings every time, without guesswork. From choosing the right doorbell type to understanding the transformer, chime, and button, the setup gets much easier once each part has a clear role. Follow the step-by-step wiring sequence, then test carefully. If the chime won’t ring, wires are loose, the transformer is underpowered, or the button is faulty, simple checks usually pinpoint the fix fast.

Main Types of Doorbells
Doorbells generally fall into two primary categories based on how they receive power and transmit signals. Each option offers distinct installation requirements and practical advantages, depending on the structure of the property and daily usage needs.
Wired Doorbells
Wired doorbells connect to a home’s low-voltage electrical system through installed wiring and a transformer. When pressed, the button sends a signal to an indoor chime unit. They provide consistent performance without battery changes and typically last for years with minimal upkeep. Installation may require professional assistance if wiring is not already in place.
Wireless Doorbells
Wireless doorbells transmit signals between the push button and receiver using radio frequency. Most models run on batteries, while some receivers plug into a wall outlet. They are easy to install and reposition, making them suitable for rentals or homes without existing wiring. Sound options and volume levels are often adjustable for added convenience.
Key Components of a Doorbell System
When learning how to install a doorbell, you should first become familiar with the individual parts of a wired system. A wired doorbell mainly consists of three components: the push button, the chime unit, and the transformer that links the button to the chime. Below is an explanation of each part and how it works.
Push Button: Mounted near the main entrance, the push button completes the circuit when pressed, sending a signal to the chime indoors. Outdoor-rated materials and varied finishes ensure durability while matching the home’s exterior style.
Chime Terminals: Positioned at the center of the chime unit, these connection points secure wiring from the transformer and door buttons. Common labels include “front,” “rear,” and “trans,” each assigned to a specific wiring path.
Resonator Bars: Located above and below the chime’s internal wiring section, these metal bars create distinct tones when struck. Each bar is tuned to a specific pitch, producing the familiar two-note sound sequence.
Solenoid Mechanism: This electromagnetic coil activates when current flows through it, pulling a metal plunger that strikes the resonator bars. The brief magnetic action converts electrical energy into mechanical movement and audible sound.
Transformer Screw Terminals: Found on the transformer housing, these two connection screws secure low-voltage wires running to the chime and push button. They provide a stable link between the power source and the doorbell circuit.
Ground, Neutral, and Hot Wires: These supply lines connect the transformer to the household electrical panel. The hot wire delivers power, the neutral wire returns current, and the ground wire adds protection against electrical faults.
How to Remove a Doorbell
Before installing a doorbell, you may need to remove an outdated or faulty unit. Below are the tools you may need when removing a doorbell, along with general steps you can follow when detaching the main components.
What You'll Need:
Screwdriver (flathead or Phillips, depending on the screws)
Voltage tester
Wire stripper (if you plan to reconnect or cap wires)
Electrical tape
Wire nuts (for safely capping exposed wires)
Drill (if the doorbell is mounted tightly to the wall)
How to Remove a Doorbell Push Button
Step 1: Turn Off the Power
Locate your home’s breaker panel and switch off the circuit that supplies the doorbell. Use a voltage tester at the push button to confirm there is no electrical current before touching any wires.
Step 2: Remove the Faceplate
Unscrew the mounting screws on the front of the push button. Gently pull the button away from the wall to expose the connected wires behind it.
Step 3: Disconnect the Wires
Loosen the terminal screws holding the wires in place. Carefully detach the wires from the terminals. Make sure the wires do not slip back into the wall cavity.
Step 4: Secure the Wires
If you are not installing a new button right away, twist wire nuts onto the exposed wire ends and wrap them with electrical tape. Gently tuck the wires back into the wall opening until you are ready for the next step.
How to Remove a Doorbell Chime
Step 1: Find the Chime Unit
Look inside your home near the main entry door. The chime is often mounted high on the wall, sometimes close to the ceiling.
Step 2: Take Off the Cover
Most chime covers snap into place. Lift or gently pry the cover off to expose the internal components and wiring.
Step 3: Label the Connected Wires
You will typically see two or three low-voltage wires attached to terminal screws. Before loosening anything, wrap a small piece of tape around each wire and note which terminal it connects to. This prevents confusion if you plan to reinstall or replace the unit.
Step 4: Loosen the Terminal Screws
Use a screwdriver to turn the terminal screws counterclockwise. Once loosened, carefully remove the wires. Hold them steady so they do not slip back into the wall opening.
Step 5: Unscrew the Chime from the Wall
Remove the mounting screws securing the chime body to the wall. Support the unit with one hand while removing the final screw to prevent it from dropping. Gently pull it away while keeping the wires accessible.
Step 6: Secure the Loose Wires
Attach tape to the ends of the wires and fasten them to the wall surface so they remain easy to reach for future installation.
How to Remove a Doorbell Transformer
Step 1: Locate the Transformer
Check areas such as the garage, basement, or attic, typically near the ceiling. The transformer is usually mounted to a metal electrical junction box and may be attached to its side.
Step 2: Disconnect the Low-Voltage Wires
Identify the small screw terminals on the transformer that secure the thin doorbell wires. Loosen the screws and detach the wires. If multiple wires are connected to the same terminal, keep each group together with tape for clarity.
Step 3: Open the Junction Box
Remove the cover plate from the electrical box. It may be secured with screws or held in place by clips. Once removed, the household wiring connected to the transformer will be visible.
Step 4: Separate the Power Wires
Inside the box, you will see thicker wires—commonly black, white, and green—joined with wire connectors. Twist off the wire connectors to detach the transformer’s wires from the home’s electrical supply. Carefully separate the wires.
Step 5: Remove the Transformer Mount
The transformer is fastened to the junction box with either screws or a locking nut. Use the appropriate tool to loosen it. Once released, pull the transformer free and guide its wires out of the box opening.
Step 6: Secure the House Wires
After removal, cap the exposed household wires with wire connectors and position them safely inside the junction box. Replace the cover plate to keep everything protected.
How to Wire a Doorbell: A Step-by-Step Guide
Now that you understand the basics, here’s how to wire a doorbell in a few easy-to-follow steps:
Step 1: Gather Your Tools and Materials
Before you begin, it’s important to have everything you’ll need to make the installation as smooth as possible. Here’s a list of tools and materials:
- Screwdriver (for mounting the button and chime)
- Wire cutters (to trim wires to the right length)
- Electrical tape (to secure connections)
- Wire strippers (to expose the wire ends)
- Doorbell kit (which includes the button, chime, and transformer)
- Screws and anchors (to mount the components)
Having everything in place ensures you won’t have to stop midway to find tools.
Step 2: Turn Off the Power
When working with any electrical system, safety should always come first. Be sure to turn off the power at your circuit breaker before you begin installing the doorbell. This will help prevent any accidents while you work.
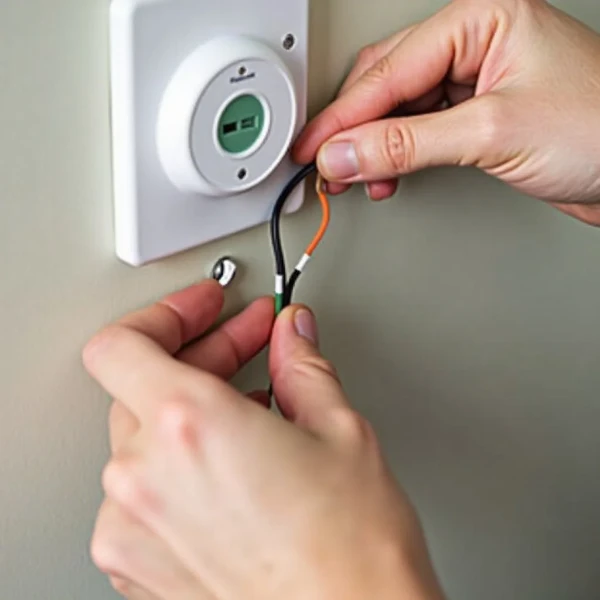
Step 3: Install the Doorbell Button
Once the power is off, start by installing the doorbell button at a height and location that's easy to access. Most buttons are mounted with screws, but some may come with adhesive strips. Secure the button firmly to the wall or doorframe.
- Use a screwdriver to attach the button.
- Connect the wires from the button to the wires leading to the chime. You can do this by twisting the wires together or using wire nuts, depending on your system.
- Once the connection is made, secure it with electrical tape to ensure it stays in place.
Step 4: Connect the Chime and Transformer
The next step is wiring the chime and transformer, which might look a little different depending on your doorbell system. Here’s how to connect the main components:
- Chime Wiring: Connect the wires from the button to the chime. These wires are usually color-coded, so just match the colors to the corresponding terminals on the chime.
- Transformer Installation: Place the transformer near your electrical panel. Connect the low-voltage wires from the transformer to the chime. If the transformer isn’t pre-wired, follow the manufacturer’s directions to connect it properly.
Step 5: Test the Doorbell
Once everything is connected, it’s time to check your work. Turn the power back on at the circuit breaker and press the doorbell button. If everything is wired correctly, the chime should sound.
If it doesn’t work right away, double-check your wiring connections to make sure everything is secure.
Common Doorbell Wiring Issues and How to Troubleshoot
Even with careful installation, issues can sometimes arise. Here’s how to troubleshoot common doorbell wiring problems:
What to Do If Your Doorbell Isn’t Ringing
If your doorbell doesn’t ring when someone presses the button, there are a few possible causes:
- Loose Connections: Make sure the wires are properly connected at both the button and the chime. Sometimes a loose connection can prevent the signal from reaching the chime.
- Faulty Transformer: If the transformer isn’t working, the system won’t receive enough power. In this case, you’ll need to replace it.
- Button Issues: If the button is broken or stuck, it won’t send a signal to the chime. Try pressing the button a few times or check the button for any visible issues.
How to Fix a Doorbell that Won’t Stop Ringing
If your doorbell keeps ringing non-stop, this can be caused by:
- A Stuck Button: If the button is stuck in the pressed position, the chime will continuously sound. Clean or replace the button if needed.
- Wiring Short: A short circuit or crossed wires can cause the doorbell to ring continuously. Check the wiring for any issues and fix them as needed.
Alternatives to Wired Doorbells: Plug-In Options
If you’re not keen on dealing with wires, you might want to consider a plug-in doorbell. These systems offer an easy and fast way to get a doorbell up and running without the need for complex wiring.
How Plug-In Doorbells Work
A plug-in doorbell works by using an electrical outlet for the chime, while the button sends a wireless signal to the chime. This is a great option if you want a hassle-free installation process and don’t want to deal with wiring.
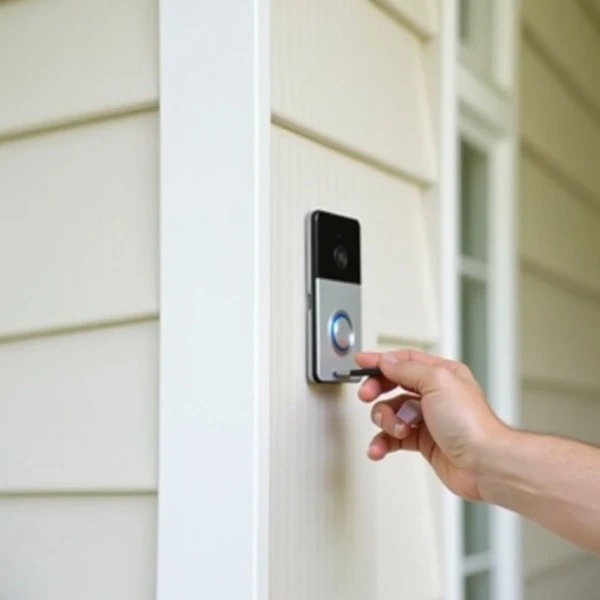
How to Install a Plug-In Doorbell
Installing a plug-in doorbell is quick and easy:
- Mount the Button: Position the button at a convenient spot near your door.
- Plug in the Chime: Plug the chime into any standard electrical outlet.
- Test the System: Press the button to check if the chime sounds.
Plug-in doorbells are a great choice if you’re renting or simply want a simple solution without any wiring.
Conclusion
Understanding your doorbell system makes installation far less intimidating. From identifying core components to following clear safety steps, each stage plays a role in ensuring reliable performance. Learning how to wire a doorbell not only helps you connect the transformer, button, and chime correctly, but also prepares you to handle common issues with confidence. With careful wiring and proper testing, your doorbell can deliver steady operation and long-term convenience for any home.
Click here to learn more about safety measures to protect your home: How to Secure Your Home.